Paths and patches are fundamental concepts in graphics programming, especially when working with libraries that facilitate rendering shapes and images. Understanding how these elements work allows you to manipulate graphics at a granular level. A path is essentially a series of connected points, which can create lines and curves, while a patch represents a filled area defined by these paths.
To start with paths, think of them as a sequence of commands that define how to draw a shape. For instance, you can move to a starting point and then draw lines to subsequent points. Here’s a simple example in Python using the popular library Matplotlib:
import matplotlib.pyplot as plt

# Create a new figure
plt.figure()

# Define a path using a series of points
x = [1, 2, 3, 4, 5]
y = [1, 3, 2, 5, 4]

# Plot the path
plt.plot(x, y)

# Show the plot
plt.show()
This snippet sets up a basic path defined by the coordinates in the x and y lists. The plot function connects these points, resulting in a visual representation of the data. That is just the beginning, as paths can be far more complex, incorporating curves and other shapes.
When you think about patches, you’re dealing with filled areas. Patches can be created from paths, allowing for solid shapes with colors and textures. Using Matplotlib, you can easily create patches with the following code:
import matplotlib.patches as patches

# Create a new figure
fig, ax = plt.subplots()

# Create a rectangle patch
rect = patches.Rectangle((1, 1), 2, 2, linewidth=1, edgecolor='r', facecolor='blue')

# Add the patch to the Axes
ax.add_patch(rect)

# Set limits and show the plot
ax.set_xlim(0, 5)
ax.set_ylim(0, 5)
plt.show()
This code snippet introduces a rectangle patch. The Rectangle class takes parameters for position, size, and color attributes, which will allow you to customize the appearance easily. By adding patches to your paths, you can create visually appealing graphics that enhance user experiences.
Understanding how to manipulate these elements gives you the power to create custom shapes from primitives. Whether you’re working on a simple application or a complex graphical interface, mastering paths and patches will significantly expand your toolkit. As you become more familiar with these concepts, you’ll find yourself experimenting with more intricate designs and interactions.
For dynamic and interactive visuals, paths play an important role in defining how shapes respond to user input. By using the capabilities of paths, you can create responsive graphics that change based on user actions or data inputs. This opens up a plethora of possibilities for creating engaging applications.
Take, for instance, the use of paths in animation. By updating the coordinates of a path over time, you can create smooth transitions and movements. Here’s an example of how to animate a path:
import numpy as np
import matplotlib.pyplot as plt
import matplotlib.animation as animation

fig, ax = plt.subplots()
line, = ax.plot([], [], lw=2)

def init():
    ax.set_xlim(0, 2 * np.pi)
    ax.set_ylim(-1, 1)
    return line,

def animate(i):
    x = np.linspace(0, 2 * np.pi, 100)
    y = np.sin(x + i / 10.0)
    line.set_data(x, y)
    return line,

ani = animation.FuncAnimation(fig, animate, init_func=init, frames=100, interval=20, blit=True)
plt.show()
This example animates a sine wave by updating its path continuously. The key takeaway here is how paths can be dynamically altered, creating a more interactive experience. The flexibility of paths allows you to incorporate various forms of user interaction and data visualization.
In all these scenarios, the combination of understanding paths and patches lays the groundwork for creating rich graphical applications. As you explore these concepts further, you’ll find that they form the backbone of many modern graphics applications, allowing you to build not just static images but also interactive experiences that can respond to user input or data changes.
Apple AirTag (2nd Generation): Tracker for Keychain, Wallet, and More; Locator with Sound; Simple One-Tap Setup with iPhone or iPad; Key Finder with up to 1.5X Precision Finding Range
(as of October 24, 2026 20:23 GMT +00:00 - More infoProduct prices and availability are accurate as of the date/time indicated and are subject to change. Any price and availability information displayed on [relevant Amazon Site(s), as applicable] at the time of purchase will apply to the purchase of this product.)Building custom shapes from primitives
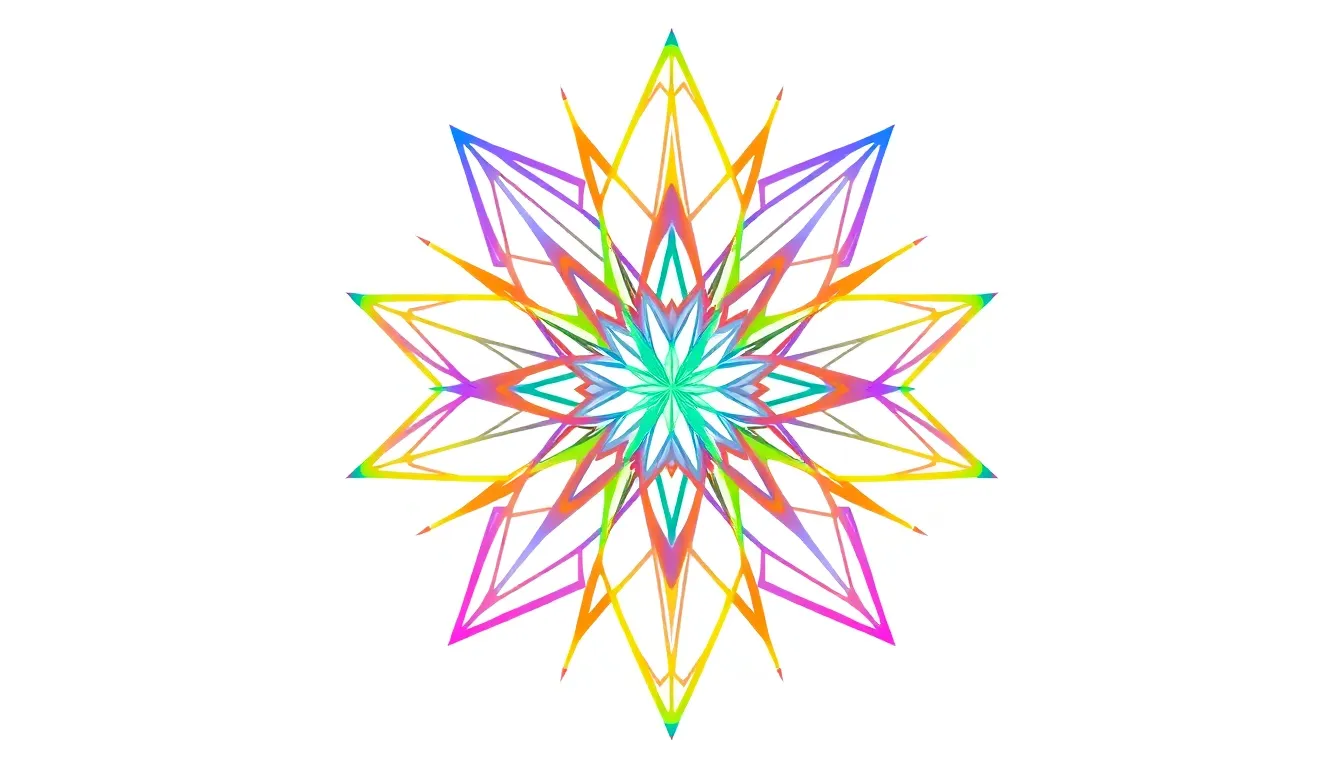
To build custom shapes from primitives, you start by combining simple geometric elements—lines, arcs, curves—into more complex figures. This approach is powerful because it lets you construct any shape by controlling the underlying components precisely. For example, consider creating a star shape by connecting lines in a specific order rather than relying on predefined shapes.
Here’s how you might define a star using Matplotlib’s Path and PathPatch classes:
import matplotlib.pyplot as plt
from matplotlib.path import Path
import matplotlib.patches as patches

# Define the vertices of the star
vertices = [
    (0, 3),    # top point
    (1, 1),    # right upper
    (3, 1),    # right lower
    (1.5, -0.5), # inner right
    (2, -3),   # bottom right
    (0, -1.5), # inner bottom
    (-2, -3),  # bottom left
    (-1.5, -0.5), # inner left
    (-3, 1),   # left lower
    (-1, 1),   # left upper
    (0, 3)     # close to top point
]

# Define the codes for the path
codes = [
    Path.MOVETO,
    Path.LINETO,
    Path.LINETO,
    Path.LINETO,
    Path.LINETO,
    Path.LINETO,
    Path.LINETO,
    Path.LINETO,
    Path.LINETO,
    Path.LINETO,
    Path.CLOSEPOLY
]

path = Path(vertices, codes)

fig, ax = plt.subplots()
patch = patches.PathPatch(path, facecolor='orange', lw=2)
ax.add_patch(patch)

ax.set_xlim(-4, 4)
ax.set_ylim(-4, 4)
ax.set_aspect('equal')
plt.show()
This example shows the power of paths: you explicitly specify each point and how to connect them, giving you full control over the shape’s geometry. The codes array tells Matplotlib how to interpret each vertex—whether to move the pen without drawing, draw lines, or close the shape.
Once you have a path, you can easily create a patch from it. This patch can be styled with colors, line widths, and transparency, and it can be transformed or combined with other patches to form even more complex graphics.
Bezier curves are another primitive that greatly expands what you can create. These curves allow smooth, flowing shapes that are difficult to achieve with straight lines alone. Matplotlib supports cubic Bezier curves via the CURVE4 path code.
Here’s a simple example drawing a heart shape using Bezier curves:
from matplotlib.path import Path
import matplotlib.patches as patches
import matplotlib.pyplot as plt

vertices = [
    (0, 0),       # start point
    (1, 1.5),     # control point 1 for right curve
    (2, 1.5),     # control point 2 for right curve
    (2, 0),       # end point of right curve
    (2, -1.5),    # control point 1 for bottom right curve
    (0, -3),      # control point 2 for bottom right curve
    (-2, -1.5),   # end point of bottom right curve
    (-2, 0),      # control point 1 for left curve
    (-1, 1.5),    # control point 2 for left curve
    (0, 0),       # end point of left curve
    (0, 0)        # close path
]

codes = [
    Path.MOVETO,
    Path.CURVE4,
    Path.CURVE4,
    Path.CURVE4,
    Path.CURVE4,
    Path.CURVE4,
    Path.CURVE4,
    Path.CURVE4,
    Path.CURVE4,
    Path.CURVE4,
    Path.CLOSEPOLY
]

path = Path(vertices, codes)

fig, ax = plt.subplots()
patch = patches.PathPatch(path, facecolor='red', edgecolor='black', lw=2)
ax.add_patch(patch)

ax.set_xlim(-3, 3)
ax.set_ylim(-4, 2)
ax.set_aspect('equal')
plt.show()
Notice how each Bezier curve segment requires three points: two control points and one endpoint. The control points shape the curve’s direction and tension, giving you the ability to sculpt curves precisely. This level of control is essential for creating smooth, organic shapes.
Combining lines and curves like this lets you build practically any shape you can imagine. The key is to think in terms of points and how to connect them, rather than relying solely on high-level shape primitives. This mindset is what separates simple plotting from true graphical design.
Beyond static shapes, you can also parameterize these points to generate families of shapes. For example, you could write a function that takes parameters for star points or heart size, dynamically generating the vertices and codes accordingly. This approach sets the stage for creating reusable, customizable graphics components.
Here’s a quick example of a function that generates a star path with a variable number of points and radius:
import numpy as np
from matplotlib.path import Path

def star_path(num_points=5, outer_radius=1, inner_radius=0.5):
    vertices = []
    codes = []
    angle = np.pi / num_points

    for i in range(2 * num_points + 1):
        r = outer_radius if i % 2 == 0 else inner_radius
        x = r * np.sin(i * angle)
        y = r * np.cos(i * angle)
        vertices.append((x, y))
        codes.append(Path.MOVETO if i == 0 else Path.LINETO)

    codes[-1] = Path.CLOSEPOLY
    return Path(vertices, codes)

fig, ax = plt.subplots()
star = star_path(num_points=7, outer_radius=3, inner_radius=1.5)
patch = patches.PathPatch(star, facecolor='gold', edgecolor='black', lw=2)
ax.add_patch(patch)

ax.set_xlim(-4, 4)
ax.set_ylim(-4, 4)
ax.set_aspect('equal')
plt.show()
The function calculates the alternating outer and inner points of the star by sweeping around a circle. This parameterization lets you easily change the star’s complexity and shape without rewriting the core drawing logic. Such modularity is critical when building graphics that need to adapt to different data or user inputs.
Constructing shapes this way also integrates well with transformations. Once your shape is a patch, you can apply scaling, rotation, and translation using affine transforms, which makes it simpler to animate or reposition complex figures without recalculating their points manually.
For example, applying a rotation transform to a star patch:
import matplotlib.transforms as transforms

fig, ax = plt.subplots()
star = star_path(num_points=5, outer_radius=2, inner_radius=1)
patch = patches.PathPatch(star, facecolor='cyan', edgecolor='blue', lw=2)

# Create a rotation transform around the center (0,0)
rot = transforms.Affine2D().rotate_deg(45) + ax.transData

patch.set_transform(rot)
ax.add_patch(patch)

ax.set_xlim(-3, 3)
ax.set_ylim(-3, 3)
ax.set_aspect('equal')
plt.show()
With this, you can rotate any shape without changing the underlying vertices. This separation of shape definition and transformation is a cornerstone of scalable graphics programming.
By mastering how to build shapes from primitives and manipulate them with paths and patches, you gain the ability to create anything from simple icons to intricate, interactive diagrams. The next step is to explore how these custom shapes can be made dynamic and responsive, reacting in real time to user input or data changes, which takes you beyond static drawing into the realm of interactive graphics.
Using paths for dynamic and interactive visuals
Paths also serve a critical function in creating dynamic and interactive visuals. When it comes to user interfaces or animated graphics, the way you define and manipulate paths can significantly alter the experience. For instance, you can make shapes respond to mouse movements or keyboard inputs, creating a more engaging interaction. This level of interactivity is often achieved by updating the paths in response to events.
To illustrate this, consider a simple example where a shape follows the mouse cursor. You can use the mpl_connect method in Matplotlib to listen for mouse movement events and update the position of a shape accordingly. Here’s how you might implement this:
import matplotlib.pyplot as plt

fig, ax = plt.subplots()
circle = plt.Circle((0, 0), 0.1, color='blue', fill=True)
ax.add_artist(circle)

def on_mouse_move(event):
    if event.inaxes:
        circle.center = (event.xdata, event.ydata)
        fig.canvas.draw_idle()

fig.canvas.mpl_connect('motion_notify_event', on_mouse_move)

ax.set_xlim(0, 1)
ax.set_ylim(0, 1)
ax.set_aspect('equal')
plt.show()
In this code, a blue circle is created at the origin. The on_mouse_move function updates the circle’s position to the current mouse coordinates whenever the mouse moves within the axes. This creates a responsive effect where the circle follows the cursor, demonstrating a basic interaction model.
Beyond simple movement, paths can also be employed to create more complex animations. By defining a series of waypoints for a shape to follow, you can animate its movement along a path. That’s particularly useful for visualizing data over time or creating storytelling elements in your graphics. Here’s an example of animating a shape along a predefined path:
import numpy as np
import matplotlib.pyplot as plt
import matplotlib.animation as animation

fig, ax = plt.subplots()
line, = ax.plot([], [], 'ro', markersize=10)

# Define a path
t = np.linspace(0, 2 * np.pi, 100)
x = np.cos(t)
y = np.sin(t)

def init():
    ax.set_xlim(-1.5, 1.5)
    ax.set_ylim(-1.5, 1.5)
    return line,

def animate(i):
    line.set_data(x[i], y[i])
    return line,

ani = animation.FuncAnimation(fig, animate, init_func=init, frames=len(x), interval=50, blit=True)
plt.show()
This example animates a red dot moving in a circular path. The animate function updates the position of the dot based on the precomputed x and y coordinates, creating a smooth animation. The ability to define paths programmatically allows for intricate animations that can be adjusted easily.
Paths can also be combined with other elements to create layered interactions. For instance, you might have a background shape that changes color when a user hovers over a specific area. This layering of paths and patches allows you to build rich, interactive environments that respond to user behavior.
In addition to mouse events, you can integrate keyboard events to navigate through different shapes or views. By capturing key presses, you can modify the paths or even switch between different graphical representations. Here’s a quick example of moving a shape with keyboard input:
import matplotlib.pyplot as plt

fig, ax = plt.subplots()
circle = plt.Circle((0.5, 0.5), 0.05, color='green', fill=True)
ax.add_artist(circle)

def on_key(event):
    if event.key == 'up':
        circle.center = (circle.center[0], circle.center[1] + 0.05)
    elif event.key == 'down':
        circle.center = (circle.center[0], circle.center[1] - 0.05)
    elif event.key == 'left':
        circle.center = (circle.center[0] - 0.05, circle.center[1])
    elif event.key == 'right':
        circle.center = (circle.center[0] + 0.05, circle.center[1])
    fig.canvas.draw_idle()

fig.canvas.mpl_connect('key_press_event', on_key)

ax.set_xlim(0, 1)
ax.set_ylim(0, 1)
ax.set_aspect('equal')
plt.show()
This code allows you to move the green circle around the plot using the arrow keys. The on_key function checks which key is pressed and updates the circle’s position accordingly. This demonstrates how paths can be manipulated in real-time, enhancing the interactivity of your graphics.
Using paths for dynamic and interactive visuals is about understanding how to connect user inputs with graphical representations. By using events and animations, you can create engaging experiences that not only display data but also invite interaction, making your applications more compelling and effortless to handle.