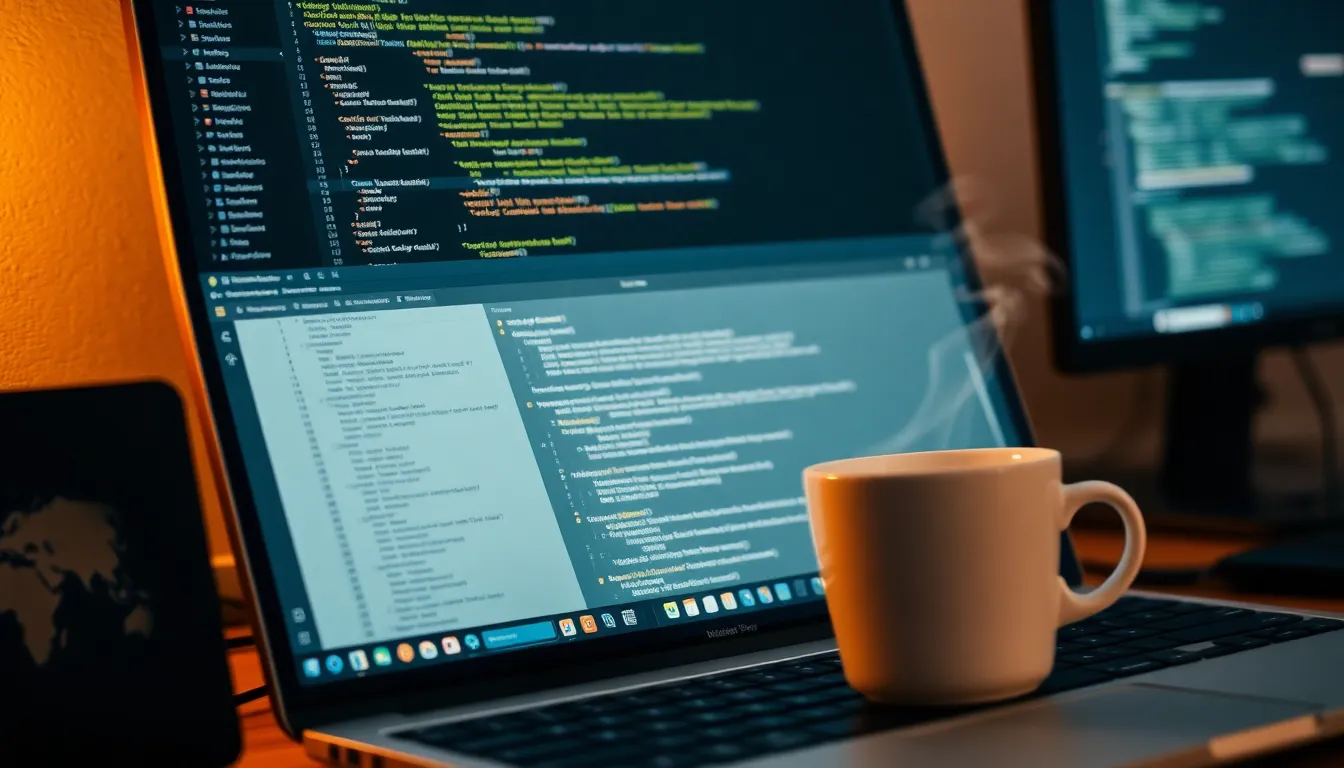
Django’s strength lies in its clear philosophy: “Don’t repeat yourself” (DRY). It encourages building applications that are both maintainable and scalable by providing a solid structure out-of-the-box, which includes an MVC-inspired architecture, a powerful ORM, templating system, and robust routing.
At its core, Django structures your application around the idea of models, views, and templates. Models represent your data schema and business logic, views act as the intermediary that processes requests and returns responses, and templates handle presentation.
Understanding how Django organizes these components will make a world of difference when you start building. Models are Python classes inheriting from django.db.models.Model, defining fields that correspond to your database columns. For example:
from django.db import models

class Book(models.Model):
    title = models.CharField(max_length=100)
    author = models.CharField(max_length=100)
    published_date = models.DateField()
This concise definition automatically translates into the appropriate database schema and creates a rich API to manage your data. Django hides the SQL under the hood, allowing you to query in Python:
# Retrieve all books published after 2010
recent_books = Book.objects.filter(published_date__year__gt=2010)
Views in Django are just Python functions or classes that handle HTTP requests and generate HTTP responses. They can render data using templates or return JSON, HTML, or any other desired format.
Here’s a simple view that renders a list of books using a template:
from django.shortcuts import render
from .models import Book

def book_list(request):
    books = Book.objects.all()
    return render(request, 'books/list.html', {'books': books})
Templates use Django’s templating language, a clean and intuitive system for defining how data is presented. Consider this snippet inside list.html:
<h1>Book List</h1>
<ul>
  {% for book in books %}
    <li>{{ book.title }} by {{ book.author }} ({{ book.published_date }})</li>
  {% endfor %}
</ul>
Another key concept is Django’s URL dispatcher. Instead of embedding links directly in views or templates, you map URL patterns to views centrally, which adds clarity and separation:
from django.urls import path
from .views import book_list

urlpatterns = [
    path('books/', book_list, name='book-list'),
]
This approach keeps routing logic simpler and makes refactoring URLs later much easier without hunting through your codebase.
Finally, Django’s built-in admin interface deserves mention. It introspects your models and automatically provides a ready-to-use CRUD interface. Registering your model is as simple as:
from django.contrib import admin
from .models import Book

admin.site.register(Book)
This yields an out-of-the-box admin UI where you can add, edit, or delete records without writing a line of extra UI code, which is a huge boost for rapid development.
Django also embraces the idea of apps—self-contained modules encapsulating a certain aspect of functionality, like a blog or an authentication system. Each app has its own models, views, templates, and so forth, which you plug into your main project. This modularity encourages reusability and simplifies management of complex projects.
With these principles in mind, you get a framework that’s opinionated but flexible, promoting clean design patterns and developer efficiency. Next, setting up your environment is simpler, ensuring you’re ready to start coding without much fuss.


Amazon Physical Gift Card in a Gift Box
$25.00 (as of December 10, 2025 09:51 GMT +00:00 - More infoProduct prices and availability are accurate as of the date/time indicated and are subject to change. Any price and availability information displayed on [relevant Amazon Site(s), as applicable] at the time of purchase will apply to the purchase of this product.)Setting up the development environment
To set up your development environment for Django, you’ll want to ensure you have Python installed, preferably version 3.6 or higher. You can check your Python version by running:
python --version
If Python is not installed, you can download it from the official website. Once you have Python set up, it’s a good practice to use a virtual environment. This helps isolate your project dependencies from system-wide packages, preventing version conflicts.
To create a virtual environment, navigate to your project directory and run:
python -m venv myenv
Activate the virtual environment with the following command:
# On Windows
myenvScriptsactivate

# On macOS and Linux
source myenv/bin/activate
With your virtual environment activated, you can now install Django. This can be done using pip, which is Python’s package manager. Simply run:
pip install django
To verify that Django has been installed correctly, check the installed version:
python -m django --version
This should return the version number of Django, confirming that the installation was successful. With Django installed, you can now create a new project using the following command:
django-admin startproject myproject
This command generates a new directory, myproject, containing the necessary files and folders to start your Django application. You’ll find a default structure that includes a settings file, URL configuration, and more.
Next, navigate into your project directory:
cd myproject
To start the development server and see your Django project in action, run:
python manage.py runserver
By default, this will start the server at http://127.0.0.1:8000/. Open this URL in your web browser, and you should see the Django welcome page, indicating that everything is set up correctly.
From this point, you can start creating your applications by using the startapp command, which initializes a new app within your project. For instance, to create an app named books, execute:
python manage.py startapp books
This will create a directory named books with its own models, views, and templates directories, following the organizational structure that Django advocates. You can then proceed to define models and views specific to your new app, integrating them into your main project seamlessly.
As you develop your application, remember to periodically check for updates to Django and other dependencies. You can update your packages using:
pip install --upgrade django
Keeping your environment up to date helps ensure that you benefit from the latest features and security improvements. Additionally, consider using pip freeze to output your current dependencies to a requirements file:
python -m venv myenv
This file can be used later to replicate your environment or share it with others, making collaboration smoother. As you dive deeper into Django, the development environment you set up will serve as a solid foundation for building robust web applications.
Installing Django and verifying the setup
To install Django, you’ll leverage Python’s package manager, pip. With your virtual environment activated, run the following command:
pip install django
This command fetches the latest version of Django from the Python Package Index (PyPI) and installs it within your virtual environment. Once the installation completes, you can verify that Django has been successfully installed by checking its version:
python -m django --version
The output should display the installed version number of Django, confirming that the setup is correct.
With Django successfully installed, you can create a new project. Use the command line to run:
django-admin startproject myproject
This creates a new directory named myproject containing essential files like settings.py, urls.py, and wsgi.py, which are crucial for your Django application.
Next, navigate into your project directory:
cd myproject
To check that everything is functioning properly, start the development server with:
python manage.py runserver
This command launches the server, and by default, it will run at http://127.0.0.1:8000/. Open this URL in your web browser, and you should be greeted by the Django welcome page, indicating that your installation and setup are correct.
Now that your project is up and running, you can start creating applications within your project. For instance, to create an app named books, execute:
python manage.py startapp books
This command creates a new directory called books alongside your project directory, complete with its own models.py, views.py, and templates directories, adhering to Django’s organizational principles.
As you develop your application, consider maintaining a record of your project dependencies. You can generate a requirements file that lists all installed packages using:
pip freeze > requirements.txt
This file is invaluable for replicating your environment later or sharing it with others. When someone else wants to set up the same environment, they can simply run:
pip install -r requirements.txt
In doing so, they will install all the necessary packages listed in the requirements file, ensuring consistency across development environments.
As your project grows, keep an eye on updates for Django and other dependencies. Regular updates can help you stay secure and take advantage of new features. Use the following command to update Django:
pip install --upgrade django
With your development environment in place and Django installed, you’re now ready to explore building your web applications, using the powerful features Django offers to streamline your development process.